how to work with pastel
Drawing & Painting With Pastels
Pastels are undoubtedly unique. Applied dry, the active process is clearly associated with drawing. The thought process, and finished result however, is closely related to painting. As a result, pastels offer the artist a special blend of the two most common approaches to art creation.
While this page is focused on the use of soft pastels, most of the following tips can also be applied to oil pastels.
My Very Best Tips For Drawing and Painting with Pastels...
#1 - Consider The Surface
The surface on which you choose to work is the foundation of the piece. Although often overlooked, the surface or paper that you work on greatly affects the success of the work.
Like other drawing papers, pastel papers are available in a variety of colors and surface textures. Working on a toned surface allows the artist to start closer to the middle of the value scale and push values darker or lighter. This gives the artist immediate and more accurate feedback on the contrast of the color applied.
The tonality of the paper is often allowed to "show through" layers of pastel applications affecting the overall temperature of the image and the contrast of the colors applied.
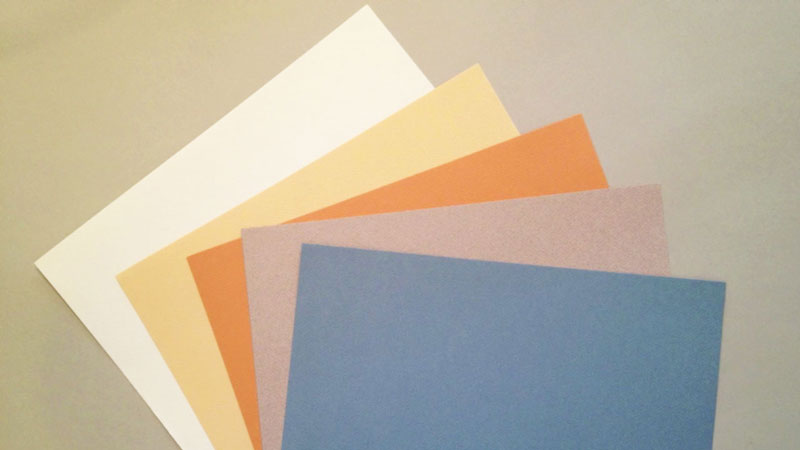
The texture of the paper (or tooth) also plays a vital role in the finished appearance of the work. Smooth surfaces with allow for greater control of gradations of value and color, but are limited in how many layers can be applied to the surface.

Medium textures allow for a greater number of layered applications, but some may find it difficult to develop details early in the painting process. But once a few layers of pastel are in place, details can easily be developed.

Coarse textures will accept multiple applications of pastel. However, details and smooth gradations of value are difficult to achieve without multiple layered applications of pastel. Even with heavy layering, the tooth of the paper will affect the finished look and in most cases, the texture will still be visible when complete.

Often times, the subject and colors within the scene will influence the paper chosen. There are no rules as to which colors or textures are "best". However, if you desire contrast, choose a paper color that is opposite in color temperature from your subject. If harmony is what you are after, then choose a paper color that matches the color temperature of your subject.
#2 - Layer Colors
Since pastels are so closely related to painting mediums, they can be approached with the same mind-set. Like with opaque painting mediums, colors can be layered over previous applications, either by covering them completely, or by allowing bits of color to show through.
Layering often leads to complexity in the color, which makes colors appear more natural and convincing. Naturally as colors are layered, they mix together - either optically or through blending. When colors are mixed, they add variety and interest to the work.
Don't expect one layer of color to do the trick. Layer multiple applications of color for a more finished and natural look.

#3 - Mix Colors
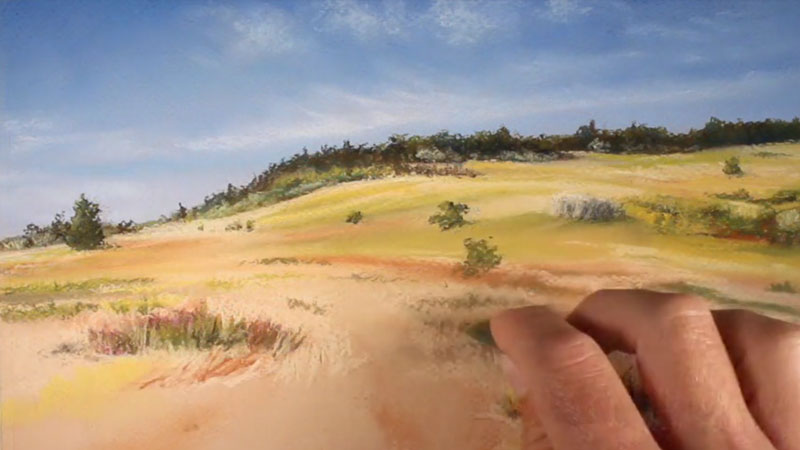
As we just covered, layering colors naturally leads to mixing and mixing colors is important for any colored media. With pastels, the mixing takes place on the surface instead of on a palette. Colors can be mixed by layering colors on top of each other, blending them with a finger or blending stump. Mixing also occurs when unblended strokes are applied over previous applications, resulting in optical color mixing.
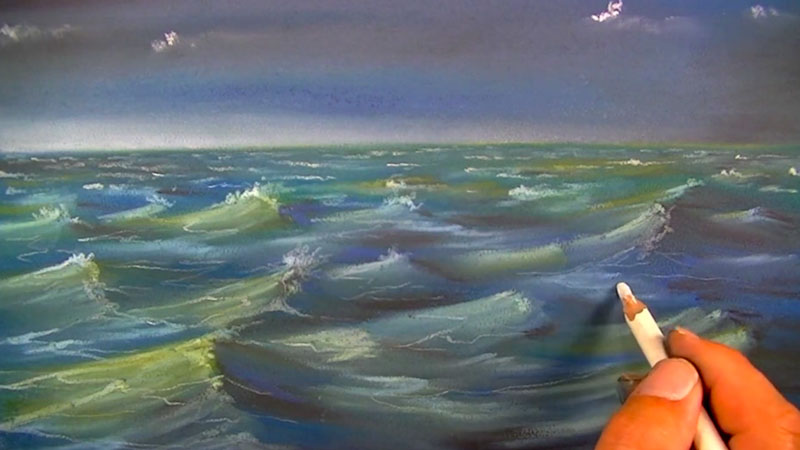
Instead of reaching for that manufactured "green", try mixing it first with yellows and blues. You can always deepen the color with the manufactured "green", if your mixed "green" isn't quite right.
#4 - "Build Up" to Develop the Detail
For many drawing mediums, the details should be planned and addressed right from the start of the process. With pastels however, we do not need to develop the details early on. Instead, details can be addressed in the later stages of the work. While planning details with a light sketch is a good idea, we don't have to develop them fully.
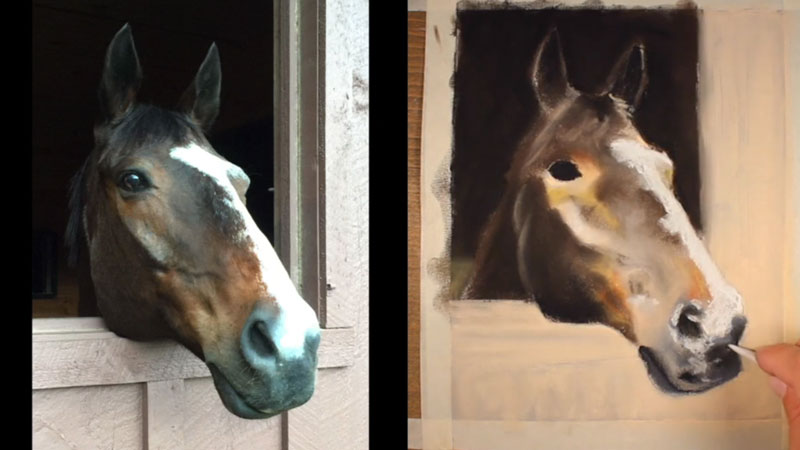
The time during the early stages is best spent on developing the tones and colors of the subject. Large shapes of color can be applied and refined as the image develops. With underlying values and colors in place, the details are easily added right over the top.
Don't allow the detail in a subject to overwhelm you. With pastels, the details are better left to the latter stages of the process.
#5 - Combine Blended and Unblended Applications
Pastels are capable of producing a wide variety of marks and this attribute should be exploited. The ability to blend the material to create smooth applications is wonderful, but there should be a balance.
Many beginning artists become so enamored with the process of blending that they blend absolutely everything in a pastel painting. This often leads to a work with poorly defined edges that also lacks variety.
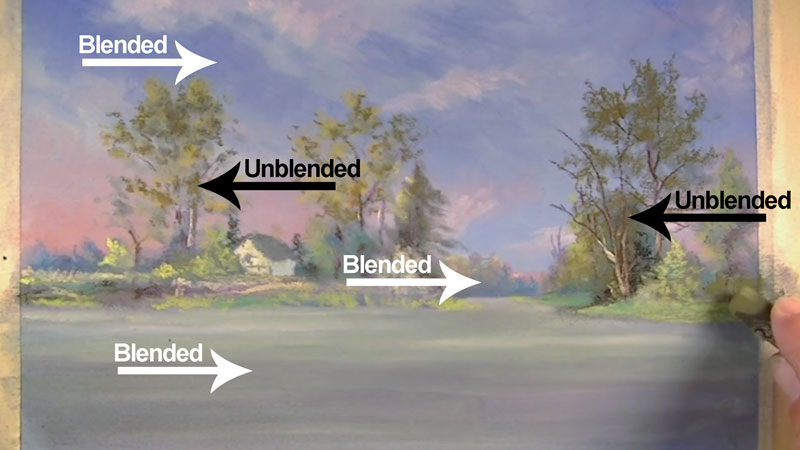
A better approach is to combine blended and unblended applications in the work. Unblended applications can produce strong bursts of color or contrast and make objects appear closer to the viewer.
#6 - Stay Loose & Work Quickly
Pastels can be applied quickly to develop large areas of color in a short period of time. This allows the artist to develop fields of color quickly and loosely in the beginning stages of a work. Details and refinements can occur as the image develops, but staying "loose and quick" can help the artist see "results" in the earlier stages.
"Loosening up" may require allowing your marks to originate from your shoulder or elbow, instead of the wrist. Try making broad movements, using your whole arm to apply colors. Get as much color on the surface as quickly as possible, remembering that details can be refined later.
#7 - Be Patient
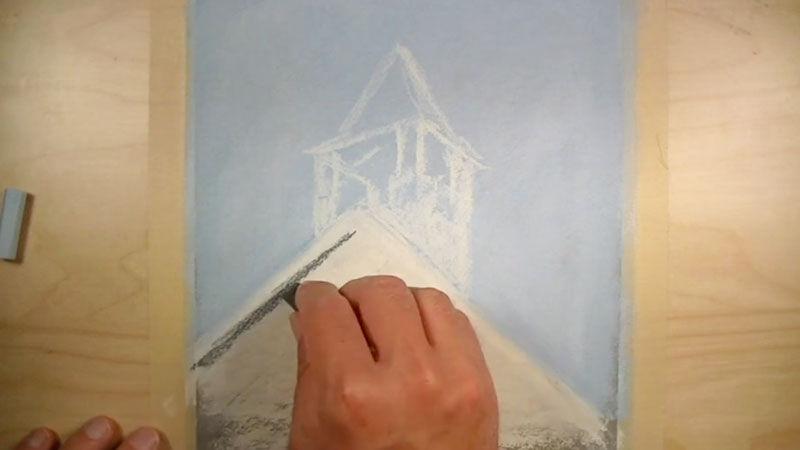
This tip may seem contradictory to the last, but it's not. Loosening up and working quickly applies to earlier stages, while patience is required to layer colors, build up complexity in the color, and develop details.
Some drawing and painting mediums require only a few marks or brush strokes to be considered "finished", but with pastels, we must allow all of those layered applications to do what we intend them to do. This means that we cannot expect to arrive at a well-developed painting with just a few marks and applications of color. It's only through the patient process of applying and developing layers that we can expect to create a worthy and "polished" pastel work.
#8 - Use Pastel Pencils For Details
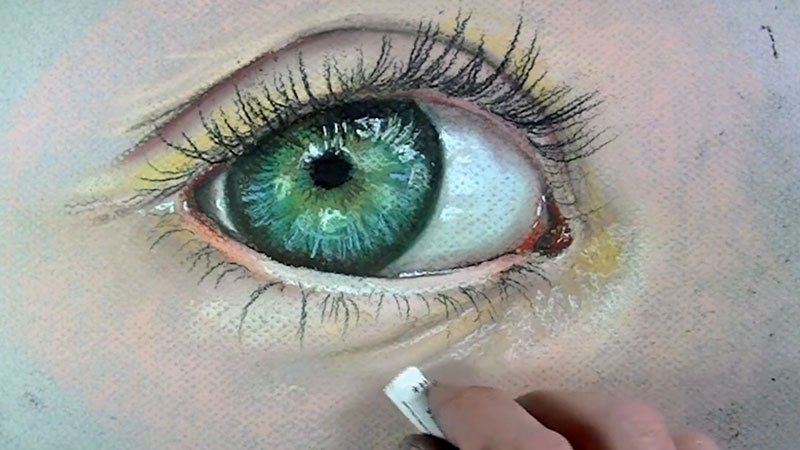
Pastels are typically produced as bulky sticks of color. While details can be developed and refined to a high level with pastel sticks, some may find it difficult to do so. If this applies to you, then you may find that pastel pencils are a suitable solution.
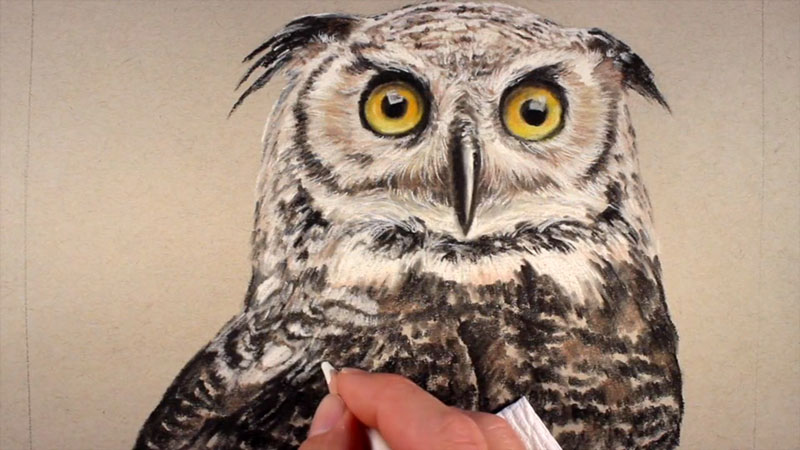
Pastel pencils, as the name implies, consist of the pastel medium encased within a wooden pencil. This allows the artist to sharpen the tip, either by using a sharp blade or a pencil sharpener. It goes without saying that a sharper tip gives the artist the ability to achieve a higher level of detail within the drawing.
Since the material is the same, pastel pencils can be blended, mixed, and used in conjunction with traditional stick pastels.
#9 - Use "Black" Sparingly
Black is a strong, intense color and when over-used, it can make an image appear flat and unnatural. Whenever possible, it's best to mix your own black with browns and blues. When black is unavoidable, it's best to use it in small doses. To lessen the strength of black, you may choose to layer colors over the top, producing a dark version of that color. The result may still appear "black", but including a bit of color in the mix will prevent it from looking "flat".
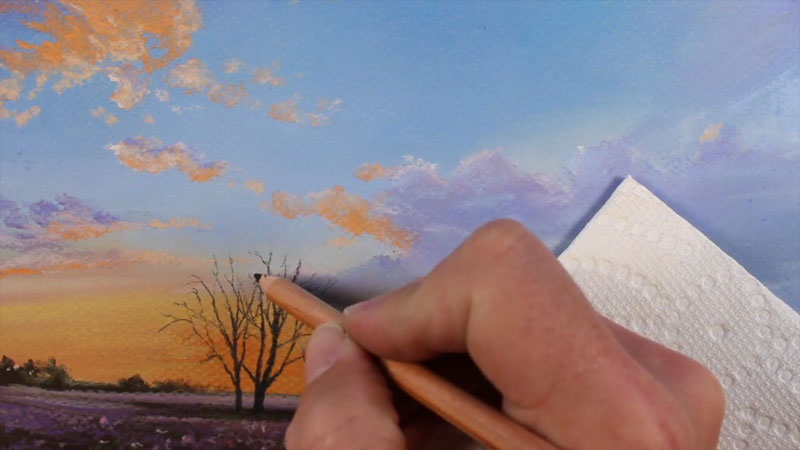
#10 - Fixative is Optional
Fixative can be applied to a finished pastel work to "hold" the chalky dust in place and protect the work, but it's important to note that this final step is purely optional. While fixative is great for preventing unwanted smudging, it can alter the tones of the colors. In most cases, a coat of fixative will make the values a bit darker.
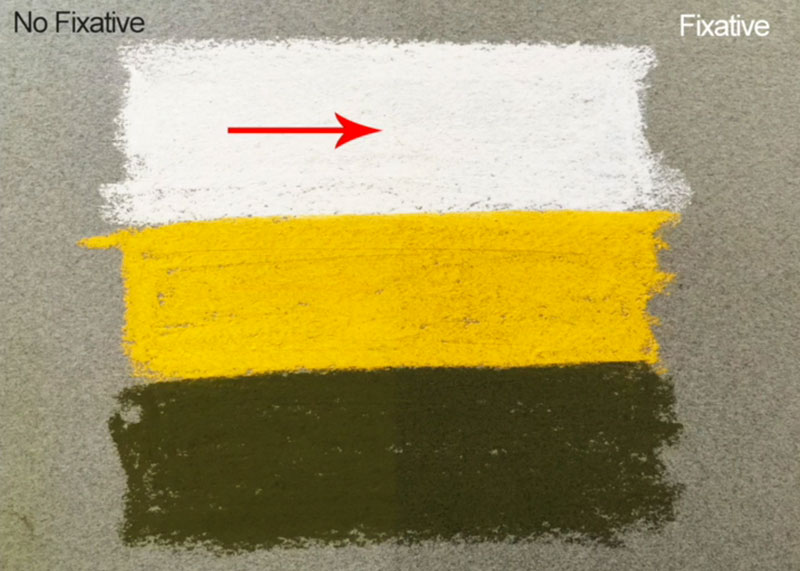
If keeping the tonality of the work intact is important to you, then you can avoid applying any fixative. You can still protect the work with a cover sheet and store it away until you're ready to frame it. Once framed, your work will be protected but the values will be true to how you applied them.
More Lessons You'll Love...
how to work with pastel
Source: https://thevirtualinstructor.com/pastel-tips.html
Posted by: farrgivename.blogspot.com

0 Response to "how to work with pastel"
Post a Comment